Planning is something I’ve often fretted about getting right over the years. I’ve chopped and changed my planning several times every year and I now feel like I’ve got a system that I’m pretty happy with and that I’m willing to share with you all, albeit nervously. The planning proforma I’ve developed works well for me in that it is clearly linked to assessment and is succinctly limited to just one A3 sheet. Hooray!
Of course, it is not perfect – is there any perfect planning system? One section I used to have, but subsequently deleted, was an evaluation box. I felt that it was a token addition, in that it was a hastily scrawled section on a Friday with no real purpose. You just have to log into my Tapestry account, or glance at the classroom displays, to see how the provision has been developed to cater for the children’s interests that particular week through our many and varied observations. I think that is a truer reflection of the week’s work.
Over the past few years I used to plan elaborate focus activities in order to attempt to meet all the various learning objectives I had chosen for the week. I usually had one indoor and one outdoor activity and when I had a 3rd adult, they would float. This planning method did not work for me because:
1) The focus activities usually changed daily meaning that it was almost impossible to work with all 30 children in one day;
2) The person floating often did not feel that they had a clear role; and
3) The elaborate focus activities I set up sometimes did not spark the children’s interests and it sometimes felt like a chore having to run around with the clipboard looking for the children who had evaded the activity all day!
Feeling dissatisfied, I started to research planning in the summer when I stumbled across this article about objective led planning written by Alistair Bryce Clegg. As I read it, it all made perfect sense and I decided to give it a whirl. I would strongly urge you to read this article for further information.
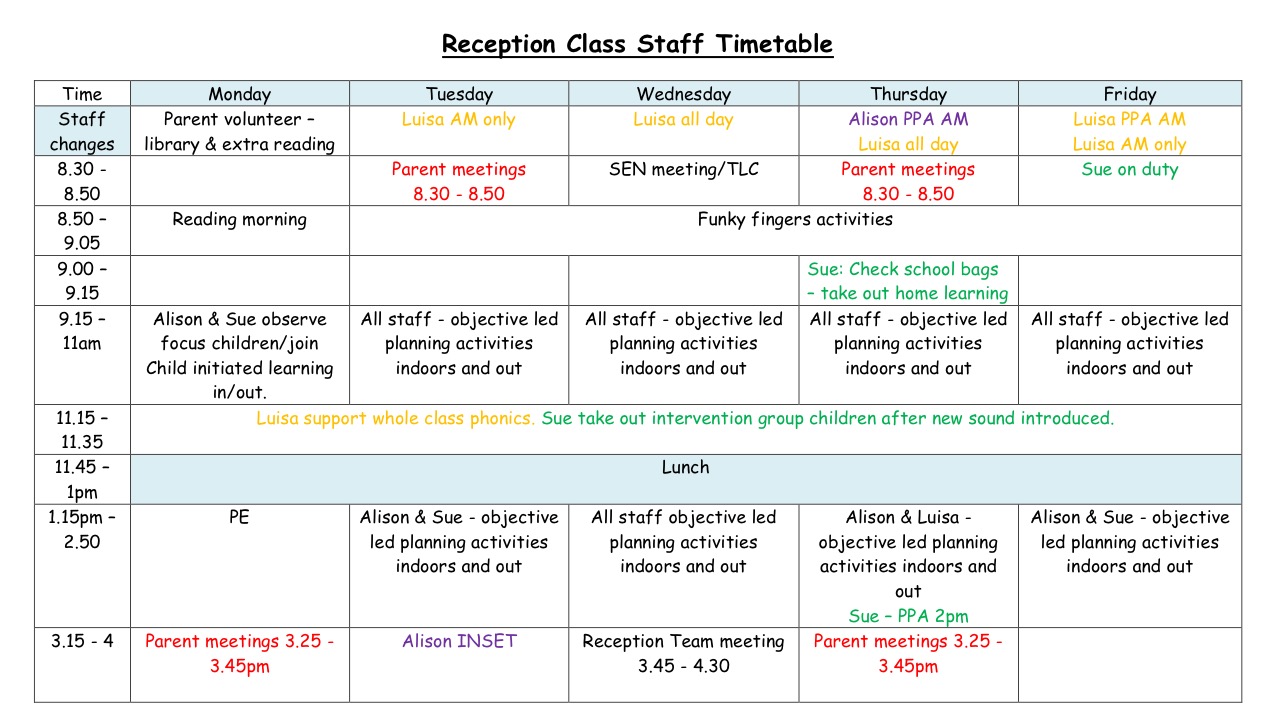
Below is my weekly planning so that before we delve into what objective led planning is, you can get a feel for how I run my week. Also attached is my staff timetable for you to get a feel for how we are all deployed throughout the day!

Download the PDF here – Weekly plan Rockmyclassroom.com/
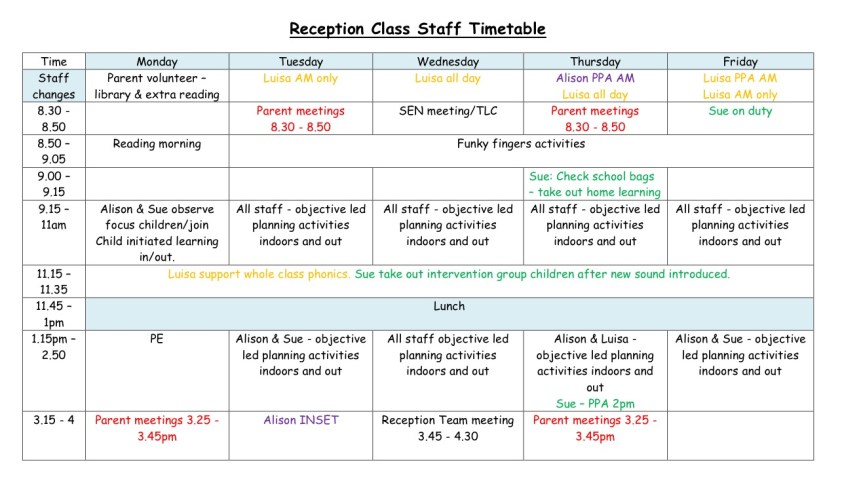
Reception Staff Timetable
Download the PDF here – Reception Class Staff Timetable 2014-15
Objective Led Planning – How does it actually work?
Every week, from *Tuesday – Friday, each member of staff takes responsibility for one learning objective each e.g.
Teacher – Writing
TA 1 – Using the language of weight
TA 2 – EAD being imaginative
These objectives are broken down and differentiated and the children are ability grouped. We specify what they children can currently do and what their next steps are. All staff are clear about how to take the children’s learning forward.
*Please note that we leave a Monday free from objectives in order to observe and extend our weekly focus children in their play.

Download the PDF here – Objective Led Planning Assessment Sheets Rockmyclassrooom.com
Each member of staff will then focus only on their one objective, for the whole week. You will notice on my planning above that rather than planning specific activities I plan ‘enhancements’ and provocations for learning around the setting indoors and out. For example, this week my TA focused on weighing. We put scales: at the playdough table, in the sand pit, on the carpet/construction area and set up the outdoor scales with some extremely heavy (1kg) weights next to it – so that the children would constantly bump into learning opportunities.
Rather than setting up a weighing ‘activity’ on the numeracy table and sitting there for the day, calling children over to weigh random teacher-selected objects, the children had the opportunity to weigh things that they might be interested to weigh during their child initiated learning. It resulted in higher level engagement and therefore, higher level attainment…
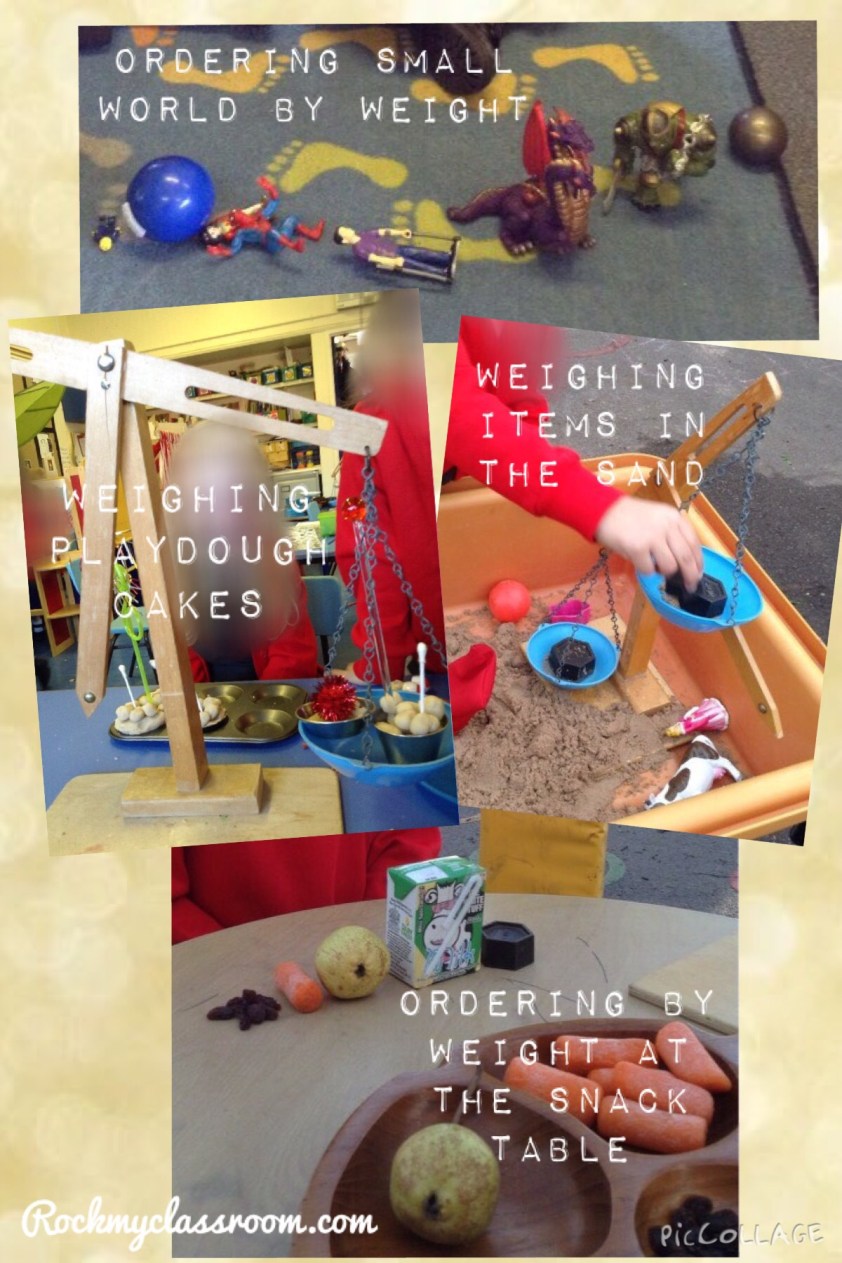
As a result we have now permanently included a set of scales among our play dough provision, so that the children will be able to use them when they wish to do so. I am thinking (or hoping!) it will help to solve arguments about how to share out the play dough fairly!
 Other Benefits/Points to think about
- I often hear teachers asking, “how do you ensure that you have evidence for each child in each area of learning?” Well, the beauty of objective led planning is that you will have a minimum of 2 observations per child, per week. These objectives will vary from week to week in order for you to ensure curriculum coverage so, “voila”, you have your evidence for each child.
- Differentiation is made explicit and you get a good feel for exactly where your children are, plus you can see clear progress from week to week.
- The learning is truly child led, in that you take the learning to them rather than calling the children to an activity.
- You won’t end up with 30 identical pieces of writing or observations of addition with compare bears. It’s lovely to see such personalised observations and pieces of writing in their learning journals. From their observations, an outsider will get a true reflection of the child and their interests along with a clear picture of their capabilities.
- Although it may sound tedious having to visit 30 children in their child iniated play in order to extend their learning, this isn’t the case. I find that when children see you engrossed with another child who is having fun learning, they will flock to you and so it ends up turning into a group activity! Yesterday for example I noticed two boys making books using hole punches and treasury tags on the PE mat on he floor. I approached them to see what they were doing and to try to extend their learning by getting them to annotate their drawings with words and captions. This resulted in several other children sidling over to get a glimpse of what we were doing and then they all wanted to join in too!
- This isn’t to say that you can never do pre-planned group activities again. For example, you may want to do some cookery through guided reading and so this would have to be a planned activity.
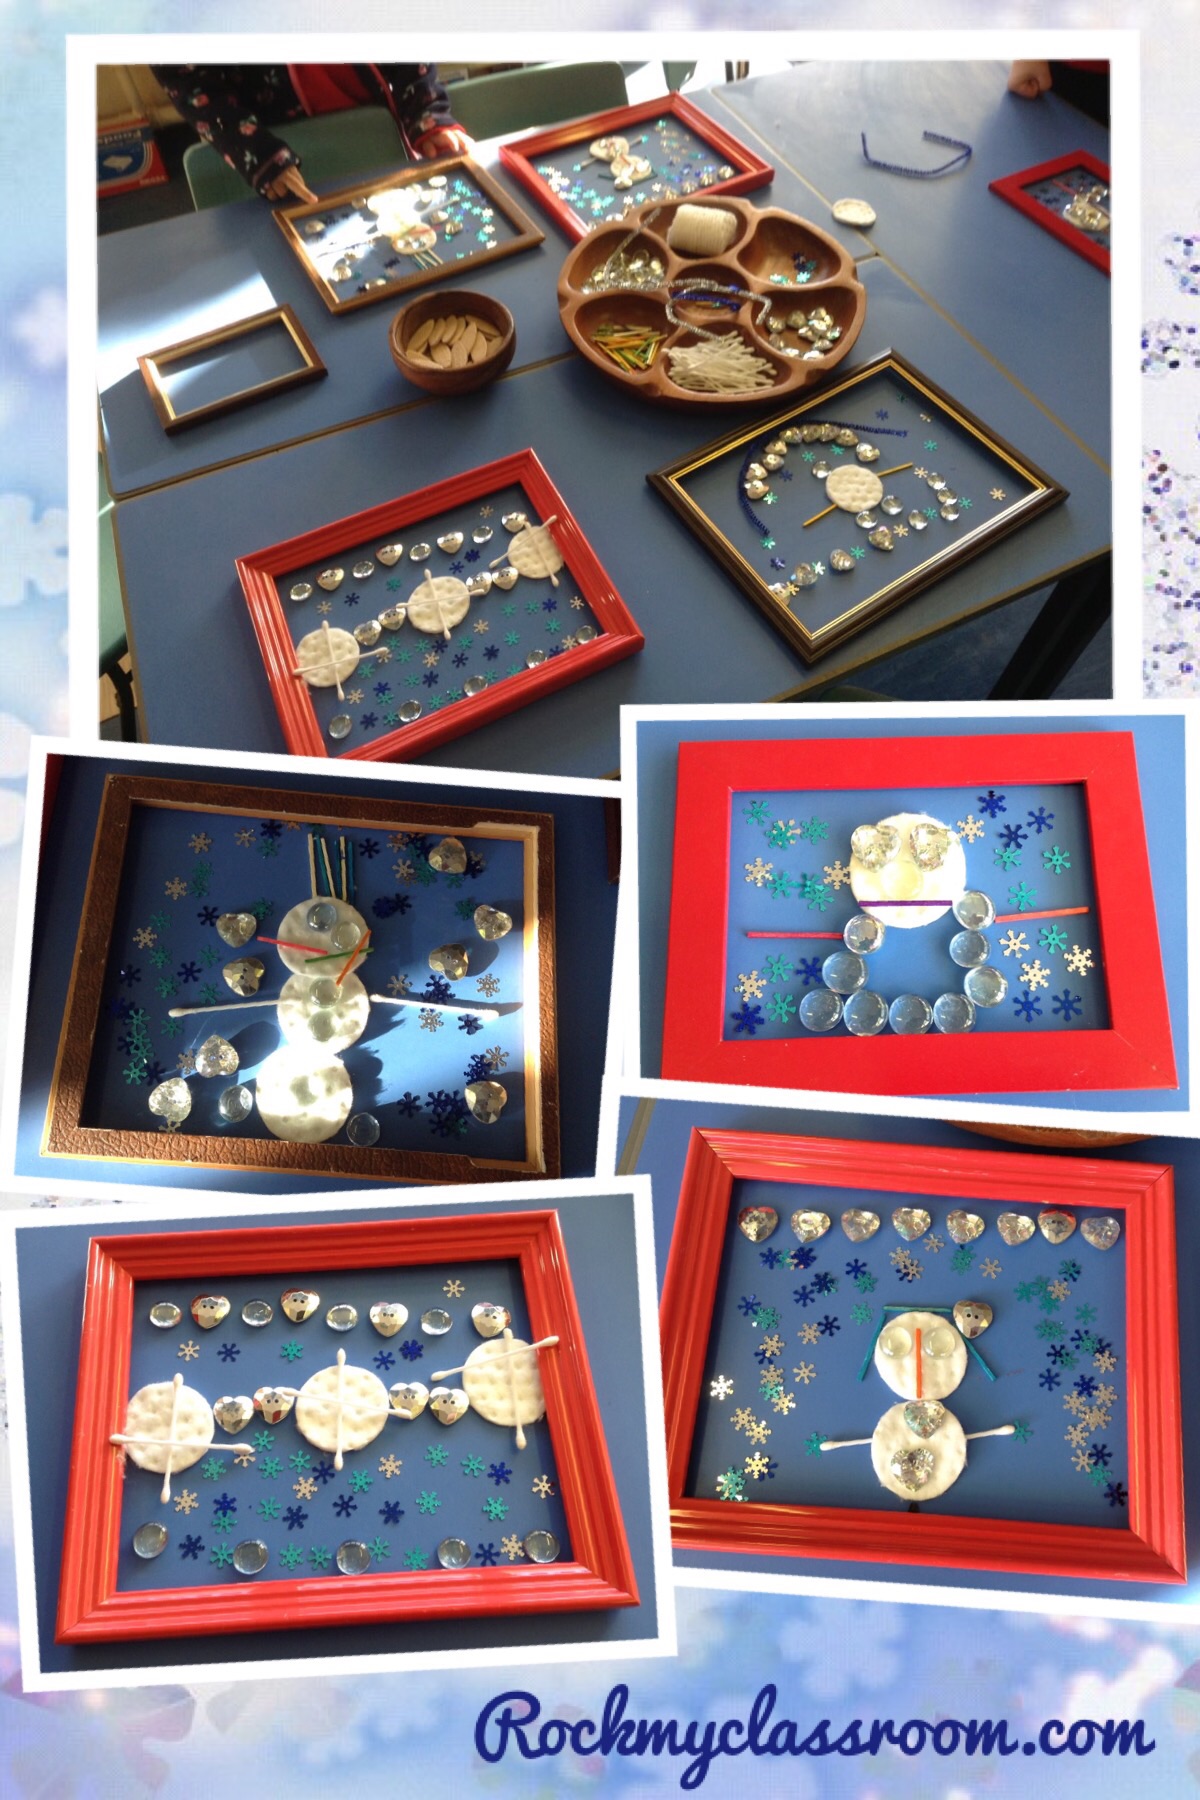
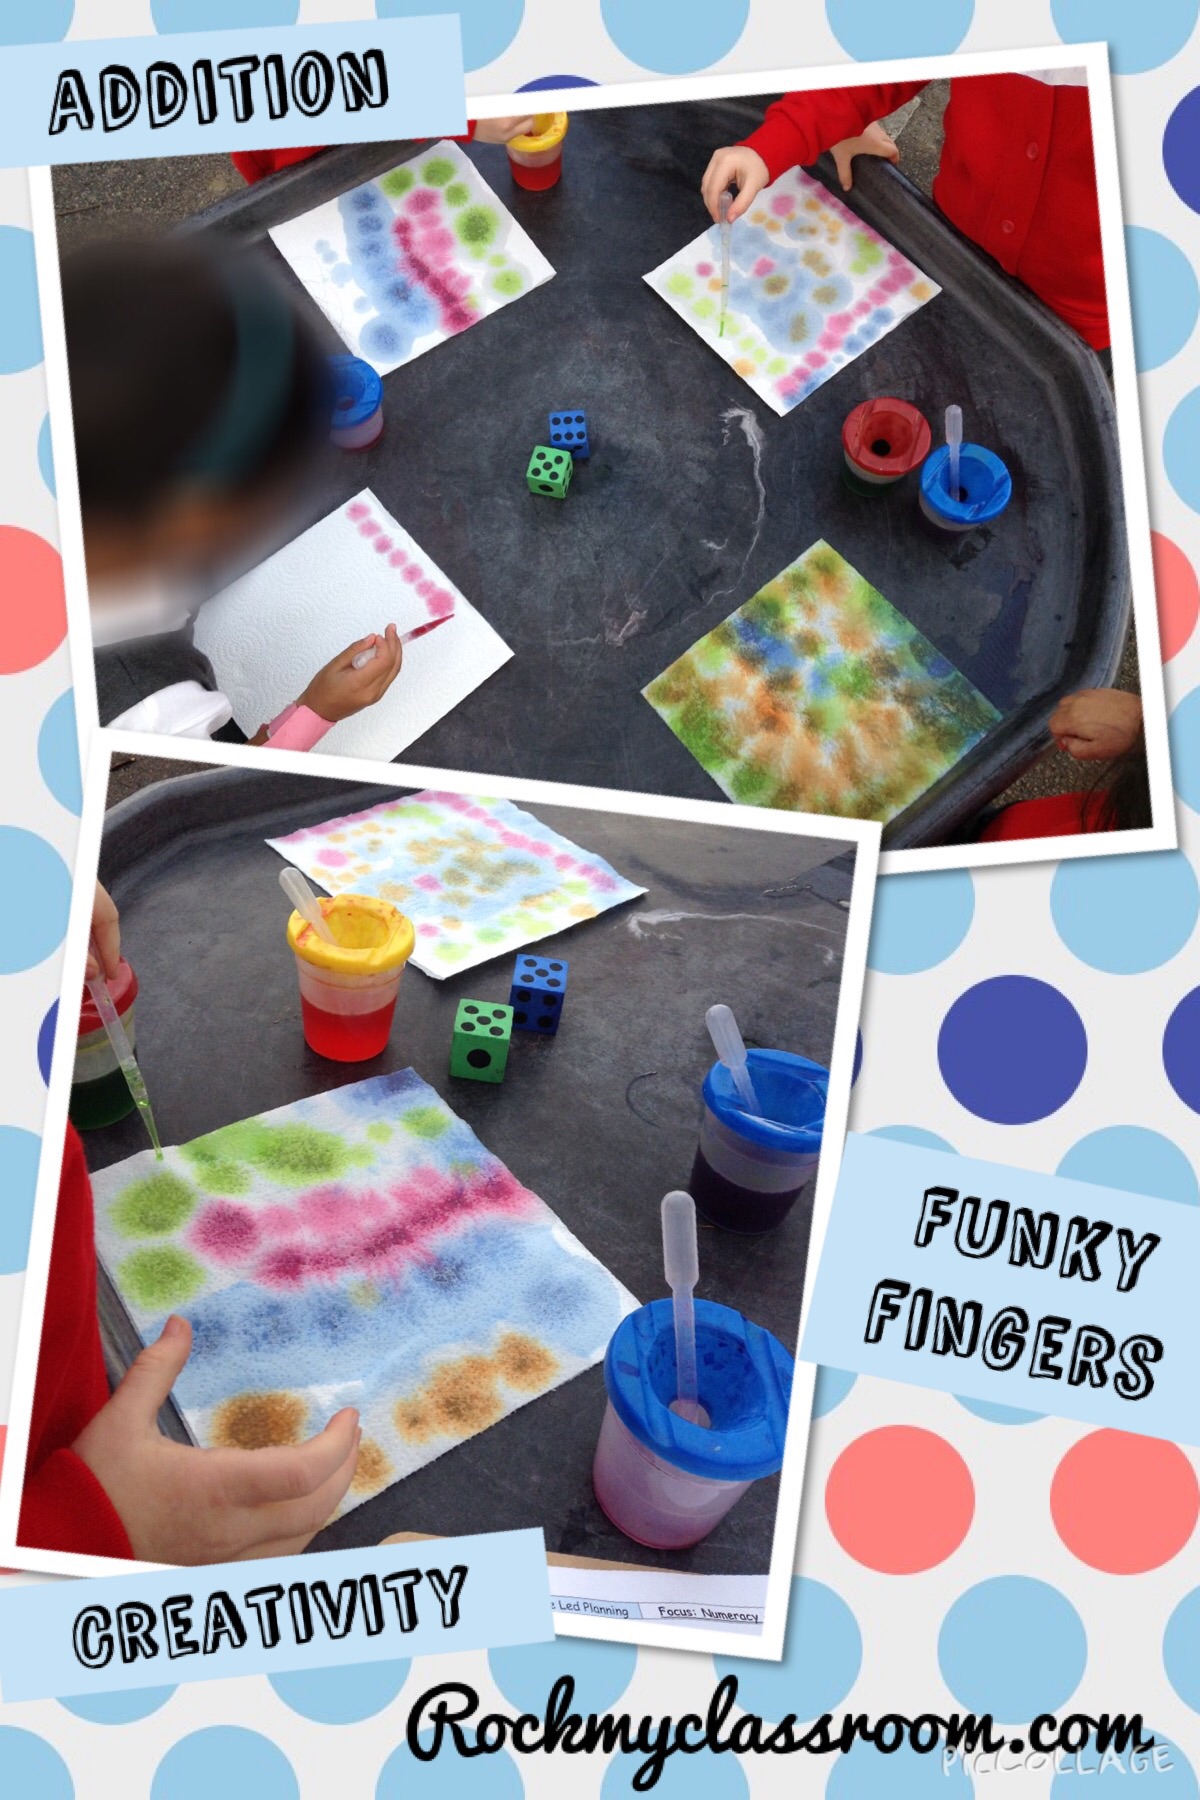
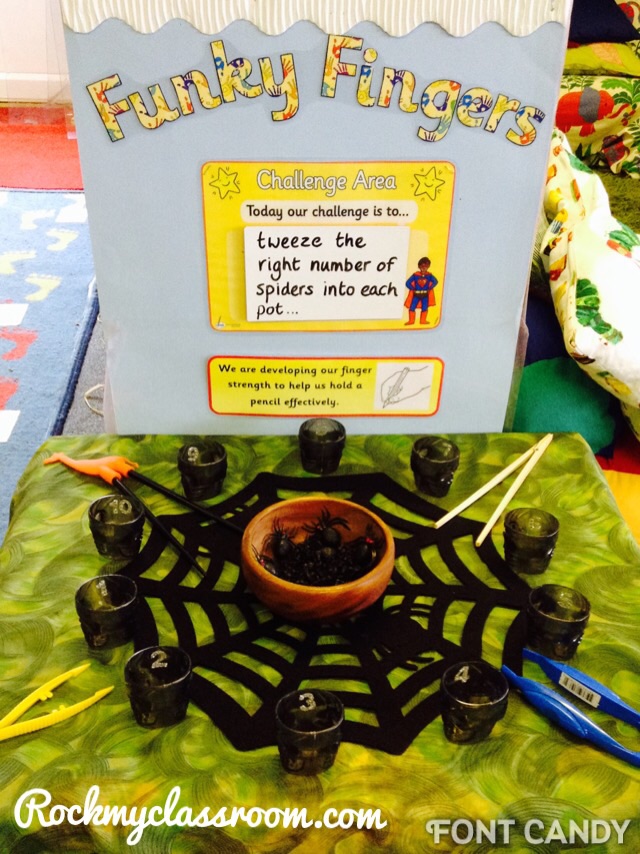
- I’ve heard some EYFS practitioners question how objective led planning ensures curriculum coverage because we only focus on 2 or 3 objectives per week. However, the very nature of Early Years education means that there are constantly cross curricular links. Just look at how my funky fingers activities below coincide with literacy/numeracy in the photos below. With some careful thought you can ensure that your provision is set up in a way that the learning is open ended and with cross curricular links.

 The drawbacks
- The time it takes break down each learning objective and to group the children according to their ability. There are so many elements to one skill e.g. segmenting sounds in words;
- To begin to hear & say initial sounds in simple CVC words
- To begin to hear & say initial and final sounds in CVC words
- To begin to hear all sounds in CVC words
- To begin to segment sounds in several words and form a simple caption etc, etc
(However, once you have broken down an objective once, you can reuse the assessment sheet next time and just move the children around the groups.)
- Sometimes it’s difficult to think of how to introduce the objective into the children’s child initiated learning without ‘killing the play’. You really need to use your imagination and be able to think on your feet about how to make it appealing to the children.
- It may take them some time for you and your support staff to let go of your traditional way of working i.e. sitting at a pre-planned activity and calling the children over to you, rather than you introducing the learning objective into the children’s child initiated learning. This takes quite a lot of skill and the ability to be able to think on your feet. You will need to spend time before you start, talking about how to create opportunities for learning in certain areas around your setting.
If you would like to read more about objective led planning please see these articles for further information:
Foundation Stage Forum (There are also some interesting discussions about objective led planning in the forums)
ABC does
In the meantime, I hope this blog post has given you some food for thought. Changing to objective led planning has not been without its difficulties, but I feel that the benefits far outweigh the drawbacks.
Happy planning, people 🙂
 1. Reading Morning
 2. Maths Morning
 3.
3. 
 My TA came back from a course with this fab idea, which we implemented immediately. Every week or couple of weeks a parent will sign up to be our mystery reader. They can choose to either read a story or talk about their jobs or their culture. So far we have had several stories in English, one in Urdu, a mum in to talk about Channukah, an Auntie in to play the violin and a dad in to talk about his work as a builder, complete with his tool box!

 The following day the Joker delivered another note, taunting the class, explaining that their traps hadn’t worked and that he was still at large. He told them to look out for signs saying ‘superhero challenge’ around the setting. If the children were able to complete the challenges he would begin to return a few of the superheroes each day.


 It had the children, particularly the boys, captivated. It was a great one to stand back and observe because of all the wonderful active learning and problem solving happening.
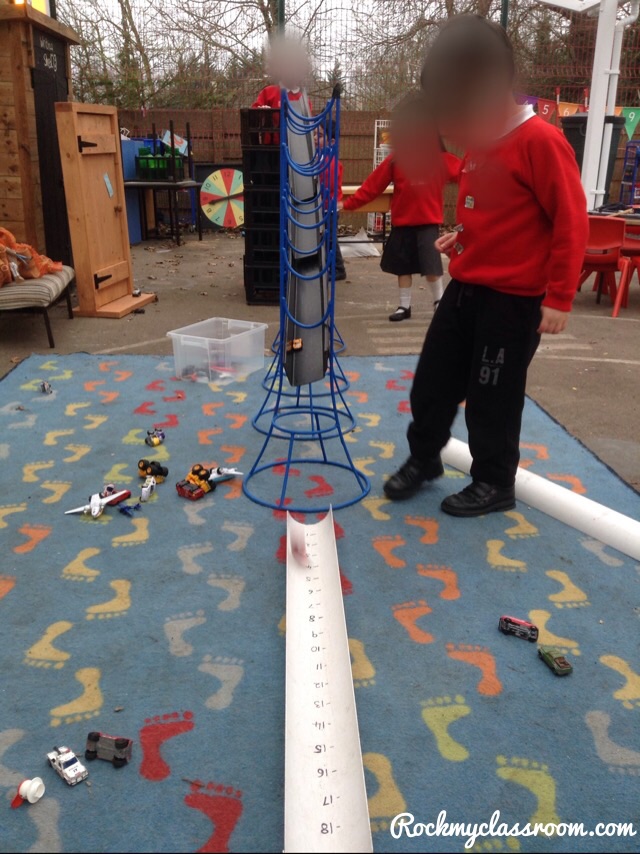


 It is so important to get out of your classroom to see others practice, whether that is in an online sense, or by physically going to visit other schools.
 3. Dinosaur attack.
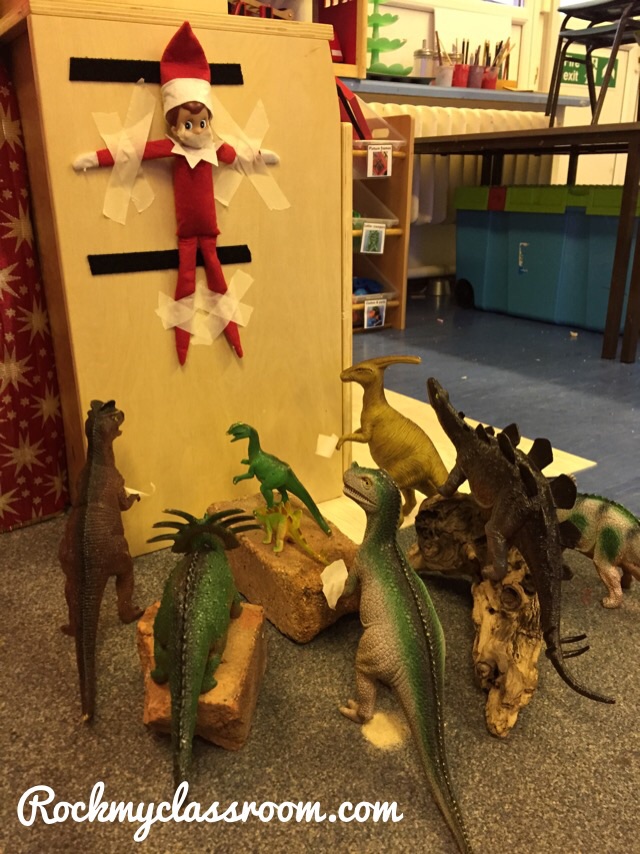


 7. Toilet paper the outdoor area/block off the door with tape


 Parents then left and I read the story to the children. I did a quick brainstorm about what we could call him, but on getting suggestions like baby, mummy and dog elf (😂), I decided that they had been at the carpet for too long and suggested that they write their ideas down for me! I also explained that my TA would need some helpers to clear out the school role play area and that if they had any suggestions about what we could turn it into, to write it down.


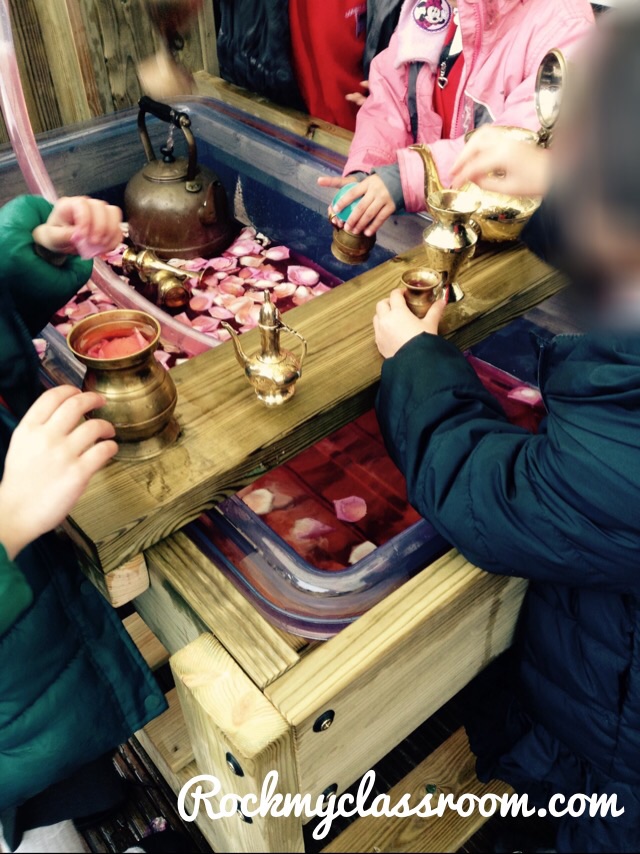


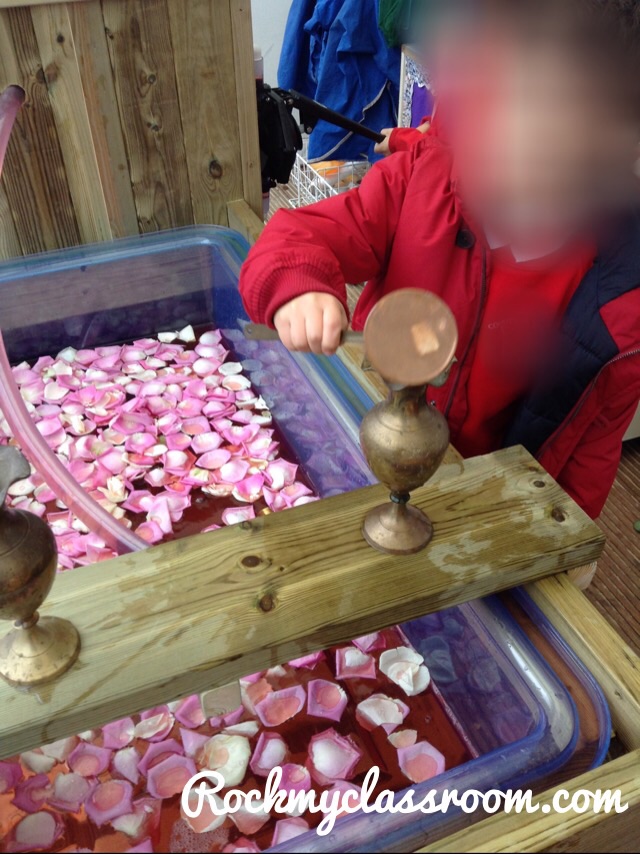
 Another outdoor water tray tip I have is that you need a lot of space. I have cleared the whole deck area and put a raised tuff spot nearby, along with large scale guttering and stands, so that the children have the space and freedom to play on a large scale.


